Mastering AirPod Maintenance: A Definitive Cleaning Guide
The Essential Clean: Why Your AirPods Need Attention
AirPods are ubiquitous, seamlessly integrating into our daily audio lives. Yet, like any daily-use tech, they accumulate earwax, dust, and debris. Ignoring this buildup doesn’t just look unappealing; it can degrade sound quality, interfere with charging, and harbor bacteria. A proper cleaning regimen isn’t about aesthetics alone; it’s about maintaining your investment and ensuring optimal performance and hygiene. Forget the internet’s questionable hacks; this is the definitive, safe approach to keeping your AirPods pristine.
What You’ll Need: The Right Tools for the Job
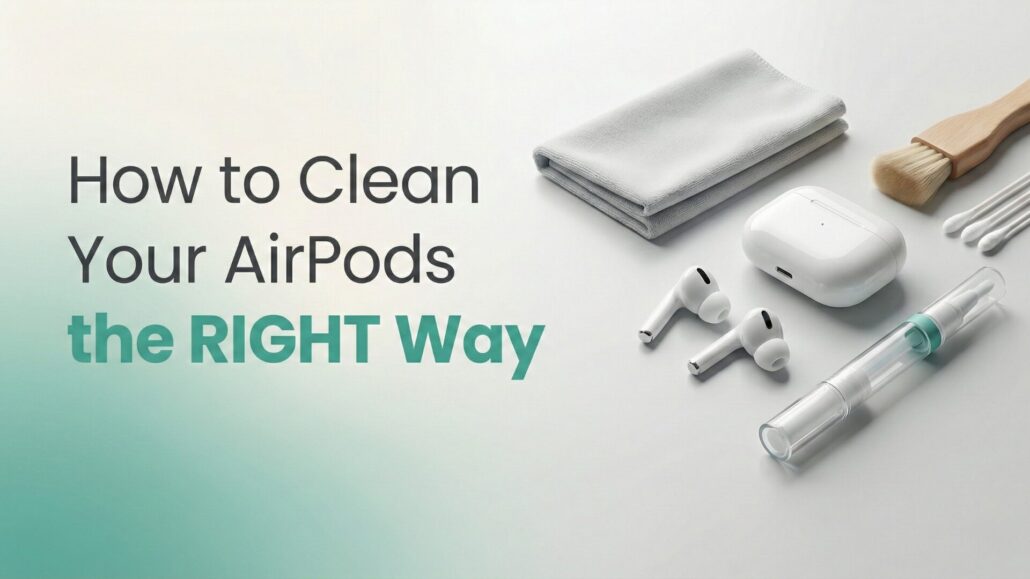
- Soft, dry, lint-free cloth: A microfiber cloth is ideal for wiping surfaces without scratching.
- Cotton swabs: For reaching into crevices.
- Soft-bristled brush: A new, clean toothbrush or a dedicated detailing brush works wonders for speaker grilles.
- Toothpick or specialized cleaning tool: Use with extreme caution for dislodging stubborn grime.
- Isopropyl alcohol (70%): For disinfecting external surfaces of the charging case, applied sparingly to a cloth. Do not apply directly to AirPods.
- Blu-Tack or similar adhesive putty (optional): Excellent for gently lifting debris from grilles without pushing it further in.
You can also grab this 20-in-1 AirPod Cleaner Kit Pro on Amazon for less than $10!
Step-by-Step: Cleaning Your AirPods and Charging Case
Precision is key here. Avoid excessive moisture, harsh chemicals, or anything that could damage the delicate components.
Cleaning Your AirPods (Earbuds)
- Wipe Down the Exterior: Use your soft, dry, lint-free cloth to gently wipe down the entire surface of each AirPod. This removes oils and light dust.
- Tackle the Speaker Grilles: This is where most earwax and debris accumulate.
- For general grime: Use the soft-bristled brush. Gently brush the speaker grilles and microphone ports to dislodge any stuck particles. Brush away from the openings, not into them.
- For stubborn wax: Carefully use a clean toothpick or a specialized cleaning tool. Gently scrape *away* from the grille openings. Be incredibly light-handed; avoid pushing debris deeper or puncturing the mesh. Alternatively, lightly press Blu-Tack onto the grille and peel it off repeatedly to lift grime.
- Final Polish: After brushing, use a dry cotton swab to clean around the edges of the grilles.
- Clean Crevices and Sensors: Use a dry cotton swab to clean the charging contacts at the bottom of the stems and any other small crevices. Ensure all sensors (like the optical sensors on AirPods Pro) are clear of debris.
Cleaning Your AirPods Charging Case
The charging case, while less exposed to earwax, collects pocket lint, dust, and skin oils.
- Exterior Wipe-Down: Use your soft, dry, lint-free cloth to wipe the entire exterior of the case. For tougher smudges or to disinfect, lightly dampen a corner of the cloth with 70% isopropyl alcohol and wipe. Immediately follow with a dry section of the cloth. Do not let moisture enter any openings.
- Clean the Charging Port: This is a magnet for lint. Using a dry, soft-bristled brush or a clean toothpick, very gently scrape or brush out any lint or debris from the Lightning port (or USB-C for newer models). Be extremely careful not to damage the internal pins.
- Clean the Interior Cavities: Use a dry cotton swab to clean inside the cavities where the AirPods sit. Pay attention to the charging contacts at the bottom of each cavity. For stubborn grime, a very lightly alcohol-dampened cotton swab can be used, ensuring it’s almost dry and no liquid drips into the case.
- Hinge Area: Use a dry cotton swab or a soft-bristled brush to clean around the hinge mechanism, which can collect dust.
Troubleshooting Common Cleaning Issues & Longevity Tips
Proper cleaning extends beyond a single session; it’s about habits and awareness.
Addressing Lingering Issues
- Muffled Sound After Cleaning: If sound remains muffled, it’s possible some debris was pushed further into the grille. Re-attempt cleaning with Blu-Tack or a very gentle toothpick scrape. If the issue persists, it might indicate internal damage, requiring professional service.
- Charging Problems: If AirPods aren’t charging, ensure all charging contacts on both the AirPods and inside the case are spotless. Lint in the case’s charging port is a common culprit; ensure it’s thoroughly cleared.
Tips for AirPod Longevity
- Regular Maintenance: Don’t wait until grime is visible. A quick wipe-down after each use, or at least weekly, prevents buildup.
- Storage: Always store your AirPods in their charging case when not in use. This protects them from dust, debris, and physical damage.
- Avoid Water: Despite some AirPods Pro models having water resistance, they are not waterproof. Never rinse them under water or immerse them. Water damage is not covered under warranty.
- Mind Your Environment: If you use AirPods during workouts, wipe them down immediately after to remove sweat. Avoid placing them on dirty surfaces.
- Gentle Hand: Always use light pressure and appropriate tools. Aggressive cleaning can cause irreversible damage.
By integrating these simple yet effective cleaning practices into your routine, your AirPods will continue to deliver the premium audio experience you expect, looking and sounding as good as new for longer.


Leave a Reply
Want to join the discussion?Feel free to contribute!