AI & Software · Tutorial
How to Share Files Between Windows PCs With Nearby Sharing
Set up Nearby sharing on two Windows 11 PCs, send a file, and fix common visibility and connection problems.
 By Tony Simons 4 min read
Disclosure: We may earn a commission when you shop through the links below. It never changes the verdict. Details
Disclosure
We may earn a commission when you shop through the links below. Opinions stay independent. Full disclosure
You have a file on one Windows PC and need it on another sitting right beside it. You could email it to yourself. You could hunt for a USB drive. Or you could use Windows Nearby sharing and send it directly to the other PC.
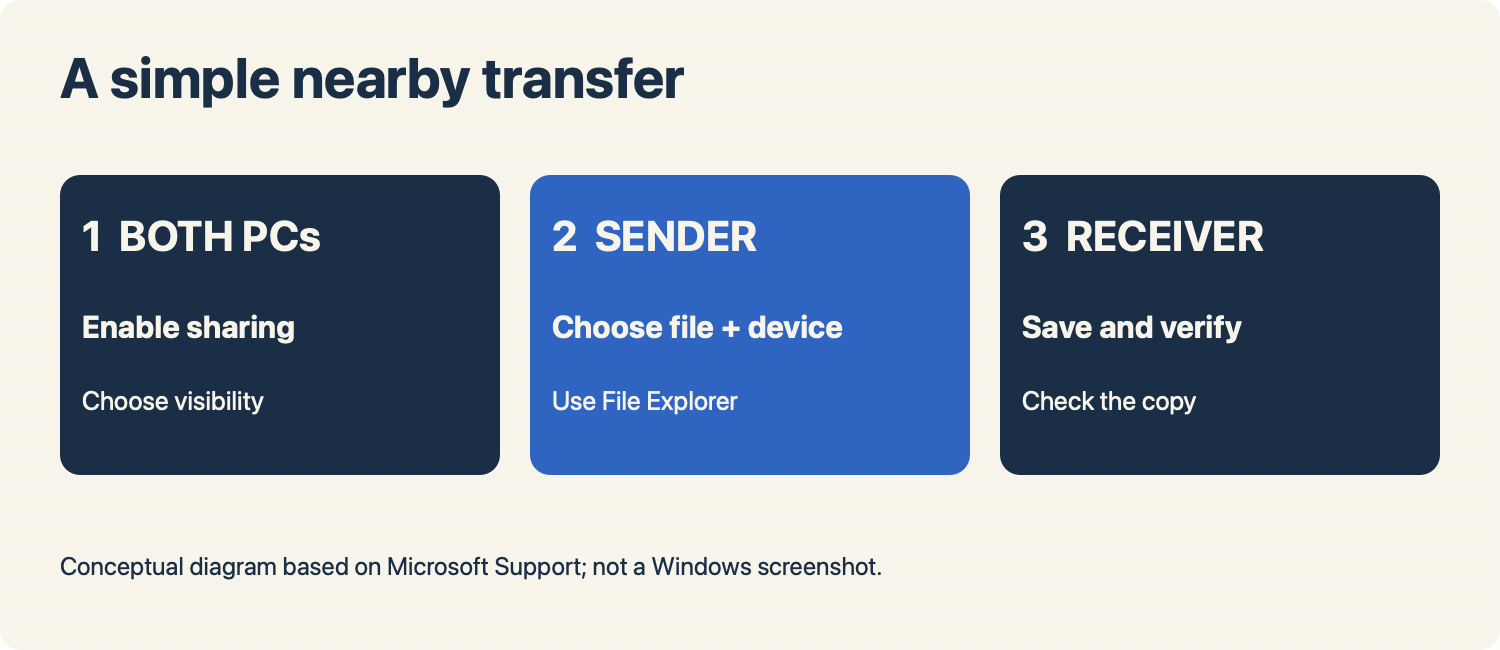
Quick answer: On both Windows 11 PCs, go to Settings → System → Nearby sharing and choose the appropriate visibility option. On the sending PC, select a file in File Explorer, choose Share, and select the receiving PC. Accept the notification on the other computer and check the saved file.
This guide follows Microsoft’s Nearby sharing instructions and troubleshooting guide, checked November 1, 2026. It focuses on two Windows 11 PCs. The transfer was not independently tested on Windows for this article; settings may vary by version.
Featured image: AI-generated conceptual illustration, not a Windows screenshot.
What you need
Keep the two supported Windows PCs near each other. Microsoft says Nearby sharing uses Bluetooth or Wi-Fi. Its troubleshooting guide calls for Bluetooth 4.0 or later with Low Energy support, and recommends enabling Bluetooth and Wi-Fi on both devices. Start with a small, non-sensitive file while you get the hang of it.
Microsoft also documents sharing with compatible Windows 10 PCs, but their settings differ and Windows 10 support has ended. This walkthrough uses Windows 11 menus. It does not cover sending to an iPhone, Android phone, or Mac; those devices need a different transfer method.
Turn on Nearby sharing on both PCs
- On each PC, open Start → Settings → System → Nearby sharing.
- Choose who can share with you. My devices only is intended for your own devices signed in with your Microsoft account. For a different person’s PC, choose Everyone nearby as appropriate on the devices, then confirm the intended recipient before sending.
- On the receiving PC, check Save files I receive to. Choose Change if you want a different save folder.
- Make sure Bluetooth and Wi-Fi are on, and keep both computers awake for the transfer.
Privacy detail: Microsoft says choosing Everyone nearby makes your PC name and Bluetooth MAC address available to nearby devices. Use My devices only when it fits, and switch Nearby sharing off afterward if you don’t need it left on. On a work or school PC, follow your organization’s sharing rules.
Send your first file
- On the sending PC, open File Explorer and find a small test document or photo.
- Select the file and choose Share on the toolbar. You can also right-click the file and choose Share.
- In the sharing options, select the intended nearby PC. Verify its name with the recipient if there are several similar names.
- On the receiving PC, select Save or Save & open when the notification appears.
- Open the received file and check it. For important work, keep the original until you’ve confirmed the copy arrived correctly.
The transfer makes another copy. Deleting or changing the original afterward does not automatically change the received file. Don’t accept unexpected files just because a nearby device offered them.
Bluetooth or Wi-Fi?
Microsoft says that when the sending PC runs the latest Windows 11, sharing over Wi-Fi is available if the receiving Windows PC is on the same private Wi-Fi network; otherwise it can use Bluetooth. Bluetooth can be slower, especially for big videos. A shared private Wi-Fi network may help, but don’t change a public network to private just to move a file—use a network you trust and control.
A private network setting is a trust choice for your computer, not a promise that a file contains no sensitive information. Check the file and recipient before you send.
If the other PC doesn’t appear
- Check both visibility settings. Nearby sharing must be enabled on sender and receiver. If using My devices only, Microsoft says both must be signed into the same Microsoft account.
- Check Bluetooth and Wi-Fi. Turn them on for both devices, bring the PCs closer, and check your network connection. Microsoft’s troubleshooting guide also explains how to check Bluetooth Low Energy support in Device Manager.
- Look for the notification. If the sender is waiting, check the receiving PC’s notification center. Notifications may be hidden when focus settings are enabled.
- Try a small file first. If a large file stalls, keep both PCs awake and nearby, then retry with a smaller file. Check the destination folder before retrying to avoid confusion over copies.
- Check the save location. On the receiving PC, look at Settings → System → Nearby sharing → Save files I receive to.
Still stuck? Work through Microsoft’s current troubleshooting steps and check whether your organization manages these settings. Once your test file arrives, you can use the same approach for the real document—without emailing it to yourself.
For another useful Windows trick, see how to copy text from a screenshot in Windows 11.
The Inner Circle
One AI shortcut a week. Tested first.
The tools and tricks I actually kept using, sent once a week. Skip the hype threads.
- New verdicts and scores
- Same-day workflow tips
- No spam, unsubscribe anytime
Written by
Tony Simons
Tony has a bachelor's degree from the University of Phoenix and over 14 years of writing experience between multiple publications in the tech, photography, lifestyle, and deal industries.